
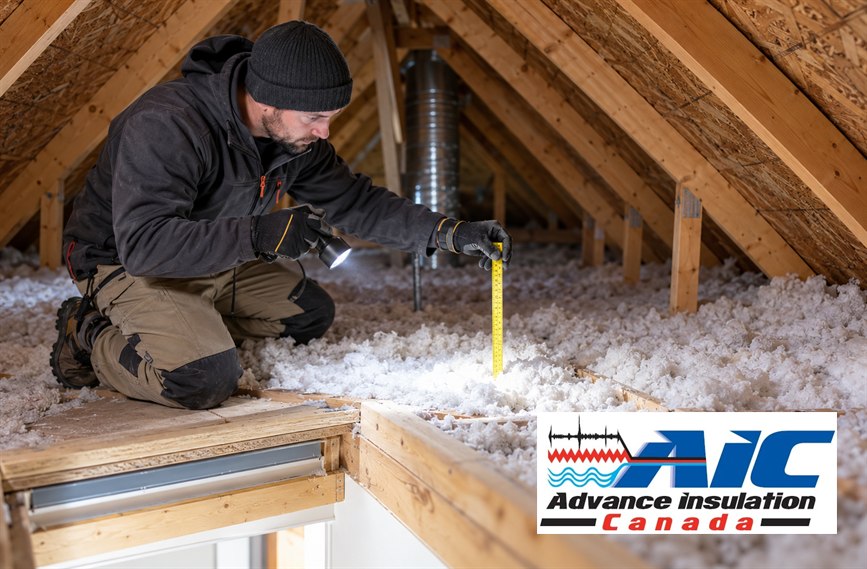
Summary: October is a practical time to check attic insulation because the first cold nights reveal heat loss before the home is locked into winter heating patterns. A careful review should look at depth, air leaks, ventilation paths, moisture clues, and the attic hatch before any new insulation is added.
An October review of attic insulation gives homeowners a chance to correct heat-loss clues while the attic is still accessible and before cold-weather complaints become routine.
Cold Nights Make Attic Problems Easier To Read
A mild afternoon can hide an attic problem that shows up clearly after a cold night. Bedrooms cool faster, hallway ceilings feel chilled, and the heating system starts recovering from overnight losses instead of simply maintaining comfort.
That makes October useful for diagnosis. The weather is cool enough to reveal weak areas, but usually not so severe that access, scheduling, and corrective work become rushed or uncomfortable.
A homeowner can make this more useful by noting the first morning when the house felt different. That timing often points to wind exposure, thermostat recovery, or a specific room that loses heat faster than the rest of the building.
Begin With Depth, But Do Not Stop There
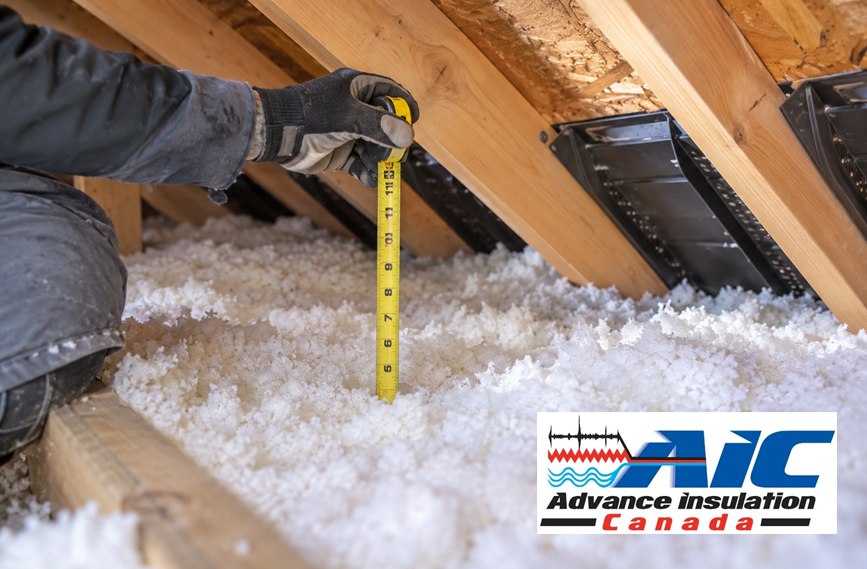
A visible lack of depth is the easiest clue, which is why Advance Insulation Canada often starts by comparing coverage across the attic floor. Uneven depth, compressed material, and bare areas around framing can all reduce performance.
Depth alone does not explain every heat-loss complaint. Air moving through plumbing penetrations, wiring holes, attic hatches, and partition tops can bypass otherwise decent insulation, so a useful inspection reads both the insulation layer and the air-control layer.
If the attic has older work from cable installers, electricians, bathroom fan changes, or roof repairs, those areas deserve extra attention. Small disturbances can create performance gaps that are easy to miss from the hatch.
Use A Cold-Snap Checklist Instead Of Guesswork
| October Clue | Likely Attic Area | Why It Matters | Best Next Step |
|---|---|---|---|
| Cold hallway below hatch | Attic access | Warm air can leak upward | Check gasket and lid insulation |
| Patchy loose fill | Ceiling plane | Heat loss follows thin spots | Measure and level coverage |
| Frost or staining | Roof sheathing | Moisture may be present | Find source before topping up |
| Blocked eaves | Soffit line | Ventilation path can fail | Correct baffles and airflow |
A checklist keeps the visit from turning into a simple material quote. The most useful outcome is knowing which conditions can be corrected with insulation and which must be handled first.
The table also helps separate urgent concerns from normal ageing. Thin but dry material is a different problem than wet material, and the repair order should reflect that difference.
The Attic Hatch Deserves Its Own Look
Many homeowners focus on the field of insulation and miss the hatch. A loose hatch can behave like a small chimney, letting conditioned air escape into the attic whenever the house is warmer than the space above.
Look for dust trails around trim, a hatch that shifts when touched, missing weatherstripping, or a cover that has little insulation on the back. Fixing this area can make the rest of the attic upgrade work more predictably.
Hatch improvements are also easier to discuss while the contractor is already looking at the attic. A small detail at the access point can undermine an otherwise well-insulated ceiling plane.
Moisture Changes The Order Of Work
If insulation is damp, stained, clumped, or musty, the next question is not how much material to add. The next question is why moisture reached that area and whether the source is a roof leak, condensation, bath fan discharge, or blocked ventilation.
A cold-snap attic check should protect the next repair, not bury the reason the old insulation stopped performing.
Moisture evidence should be photographed and explained before it is covered. A clear record helps homeowners understand whether the next step is roofing, ventilation, air sealing, insulation, or further investigation.
Connect The Inspection To Heating Costs
Heating-degree logic is simple for homeowners: the colder and longer the season, the more a weak building envelope matters. October is early enough to improve the envelope before the highest winter heating demand arrives.
BC rebate guidance also asks homeowners to document insulation location, type, R-value change, and square footage, so inspection notes can support better planning. The verified attic insulation listing on Google Maps gives readers a stable business reference while they compare options.
This is not about promising a specific bill reduction from one visit. It is about reducing avoidable heat loss before the weeks of steady heating demand make every weak spot more expensive to ignore.
What To Prepare Before Booking
Before calling, note which rooms cool first, whether the problem is worse on windy nights, and whether any stains, odours, or past roof repairs are known. Photos from safe access points can help, but no homeowner should climb into an unsafe attic just to gather evidence.
A good appointment should leave the homeowner understanding whether the attic needs air sealing, ventilation correction, insulation top-up, removal, or some combination. That decision is more valuable than a one-line price for more material.
The best preparation is simple and practical. Bring the comfort complaint, the known history, and access details together so the inspection can focus on causes rather than guesses.
Another reason to do this in October is that the attic can be assessed before holiday schedules and deeper winter weather make small projects harder to coordinate. If the attic only needs a straightforward top-up after air sealing, the homeowner can move ahead with confidence. If the attic has moisture or ventilation issues, there is still time to plan the repair path without making a rushed decision during a heating bill spike.
A good cold-snap inspection should also explain what not to do. For example, adding material over blocked soffits, burying recessed light concerns, or ignoring a leaky hatch can create disappointment later. The homeowner should leave with a clear reason for each recommendation, not a vague promise that more insulation will solve every comfort complaint.
The most useful outcome is a sequence: seal the obvious air leaks, protect the ventilation path, correct any damp areas, then add the right amount of insulation. That order keeps the attic upgrade focused on performance. It also helps the homeowner compare quotes because each contractor can be judged on whether they understood the same attic conditions.
Homeowners can also use the first cold snap as a simple before-and-after benchmark. If the attic work proceeds, note the rooms that were cold, the weather conditions that made them noticeable, and whether the heating system struggled to recover in the morning. Those observations do not replace professional testing, but they help the household judge whether the completed work addressed the original complaint. They also make the conversation more specific if follow-up work is needed elsewhere in the building envelope.
Readers who want to separate cold-weather heat loss from damp-attic warning signs can also review the September attic moisture guide and the winter damage checklist.
The Advance Insulation Canada Invitation
If the first cold nights are already exposing comfort gaps, Advance Insulation Canada can turn an October attic insulation check into a clear upgrade sequence. Call 1-855-531-3626 for a free quote before winter heat loss becomes the daily routine.